Getting Started with Your Bloome Pump
1. Charge Before First Use
- Plug the included USB-C charging cable into a 5V 1A USB power source.
- The pump will not operate while charging.
- A full charge takes about 2 hours and gives you 2+ hours of use.
- Tip: Charge after each session when the battery indicator flashes.
2. Clean Before First Use
- Disassemble all washable parts (bottle, valve, flange, silicone bowl, etc.).
- Rinse with cold water.
- Wash with warm water and mild dish soap.
- Rinse again with cold water.
- Let all parts air dry completely.
- Do NOT submerge the motor. Wipe it clean with a damp cloth only.
3. Find Your Flange Size
- Bloome comes with 3 breast shield (flange) sizes: 19mm, 21mm, 24mm.
- Try each to find the most comfortable fit.
- Knowing how to measure flange size can help reduce discomfort and improve milk flow.
- Keep unused shields—your body may change over time.
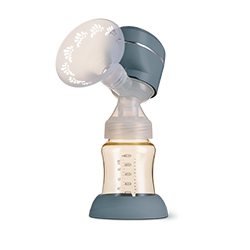
4. Assemble the Pump
1. Attach valve to valve bracket.
2. Twist valve bracket securely onto bottle.
3. Connect the motor unit to the bottle assembly.
4. Snap the silicone suction bowl into place.
5. Slide assembled flange into the motor unit until flush.
Pumping with Bloome
1. Position the Pump
- Place the flange over your breast with your nipple centered.
- Ensure a snug, gap-free seal between pump and breast.
- Use your standard nursing bra for support.
- Adjust compression using the included bra adjuster if needed.
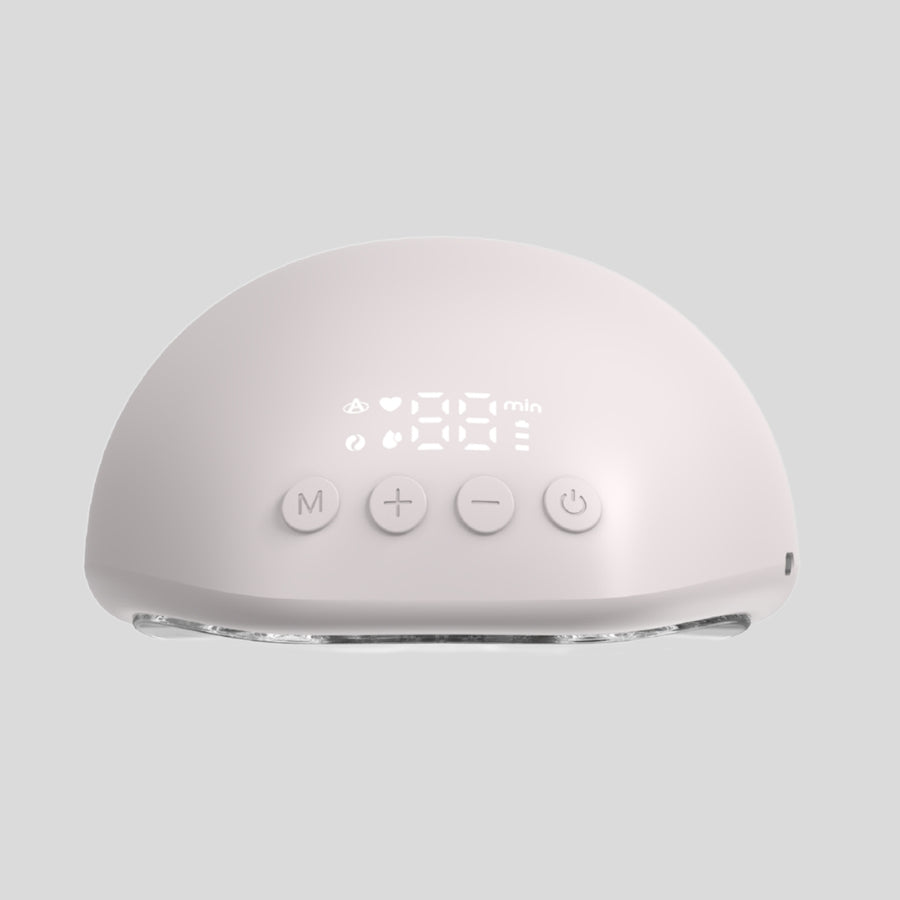
2. Turn On the Pump
- Press the power button. The pump will start in Automatic Mode.
- It will gradually increase suction over 3 minutes and then switch to Expression Mode.
3. Select Your Mode
- Press the "M" button to switch modes:
- Massage: Eases swelling
- Stimulation: Encourages milk flow
- Expression: Extracts milk efficiently
- Automatic: Remembers your last used setting
4. Adjust Intensity
- Use the up/down buttons to choose from 9 intensity levels per mode.
- Pump at a comfortable setting; higher suction is not always better.
5. Switching Breasts
- Turn the pump off before moving to the other breast.
- This ensures a fresh start in Automatic Mode.
6. After Pumping
- Press and hold power to turn off.
- Gently break the seal and remove pump upright.
Cleaning Instructions
After Every Use
1. Disassemble all washable components.
2. Rinse parts in cold water.
3. Wash with warm water and mild dish soap.
4. Rinse again in cold water for 10–15 seconds.
5. Allow parts to air dry completely before reassembly.
Once a Day (Sterilisation)
- Sterilise parts by boiling in water for 5 minutes OR use a steam/microwave steriliser.
- Do NOT sterilise the motor.
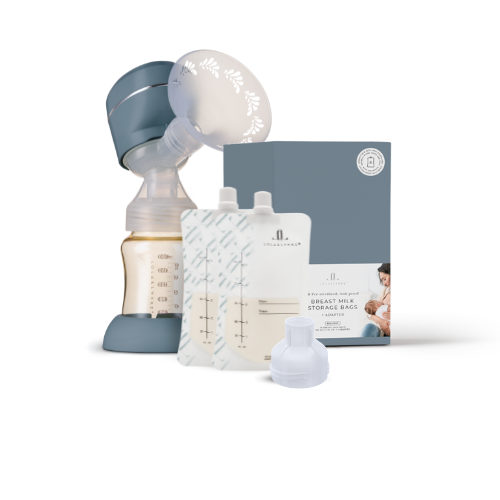
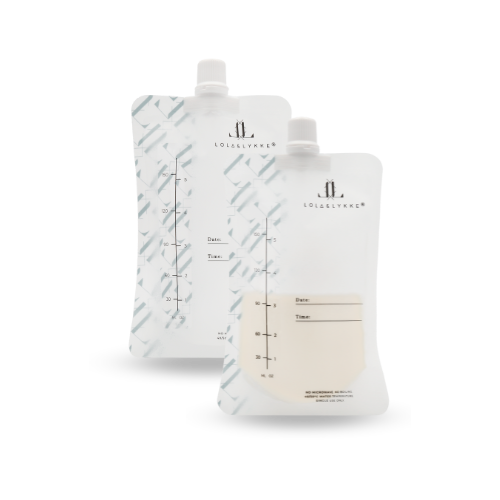
Milk Transfer & Storage
- Use the easy-pour nozzle to transfer milk into a storage container or bottle.
- Store milk according to safety guidelines (see full manual).
- Always label milk with the date/time pumped.
For full instructions, safety information, and troubleshooting, please refer to your user manual.
Questions? Email us at info@lolalykke.com